Hard water poses significant challenges to both your home and health. Fortunately, installing a water softener offers an effective remedy that you can handle independently. While many homeowners perceive the installation process as intricate and best left to professionals, the reality is that you can successfully install a water softener yourself, saving both time and money. This step-by-step guide will walk you through the process of installing a water softener and everything involved.
How to Install a Water Softener
Step 1: Shut Off Water Supply
Start by turning off the main water supply to your home. Locate the shut-off valve and close it to stop water flow during installation.
Step 2: Choose the Installation Location
Select an appropriate location for your water softener installation based on the factors discussed earlier.
Step 3: Prepare the Plumbing
Using a pipe cutter, make a cut into the main water pipe where you intend to install the softener. Ensure there’s ample space for the bypass valve and other fittings.
Step 4: Assemble the Bypass Valve
Follow the instructions provided by PlumbSmart to assemble the bypass valve. This valve allows you to redirect water around the softener when necessary, such as during maintenance or regeneration.
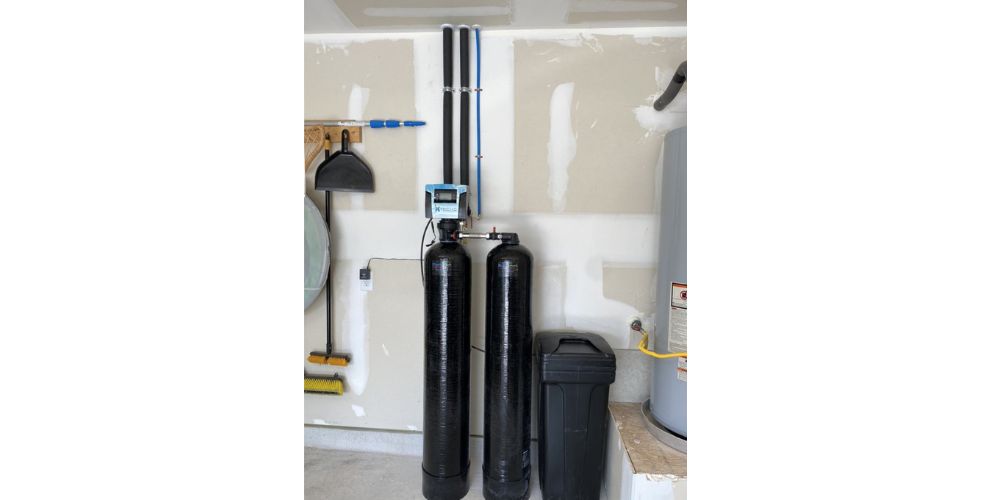
Step 5: Connect the Softener
Position the water softener unit near the installation site. Use suitable fittings and Teflon tape to connect the inlet and outlet ports of the softener to the corresponding points on the bypass valve.
Step 6: Connect the Drain Tubing
Attach one end of the drain tubing to the drain saddle on the softener and the other end to a nearby drain line. Ensure the tubing is securely attached and correctly positioned.
Step 7: Connect to Power
Plug the water softener into a nearby power outlet to enable its operation and regeneration cycles.
Step 8: Turn On Water Supply
Slowly open the main water supply valve to allow water to enter the softener. Check all connections for leaks and tighten them if necessary.
Step 9: Regeneration and Initial Setup
Follow PlumbSmart’s instructions to set up the water softener, including programming the regeneration schedule and adding the appropriate type of salt or potassium chloride.
Also, read: 5 Signs You Need Plumbing Services
Do You Need Experience to Install a Softener?
Installing a water softener doesn’t necessarily require previous plumbing experience, but basic DIY skills and a good understanding of your home’s plumbing system are beneficial. Familiarizing yourself with how a water softener operates can help ensure proper installation and functionality. If you’re uncertain or uncomfortable with the installation process, consider PlumbSmart consulting a professional plumber or handyman for guidance before proceeding.